[ad_1]
Getting a good digital image of artwork is very important if you want people to get the full impact of your artwork. You need to have good quality digital images of your artwork for Online Galleries, PR materials, exhibitions and galleries. Your digital images are your artwork online, so they need to look as close to the original artwork as possible. You want to make a good first impression, don't you? If you have a great piece of artwork and it looks dull, dark and gray on the computer screen, it will automatically disengage the viewer and viewers will not want to look at it, it will not interest viewers.
Equipment –
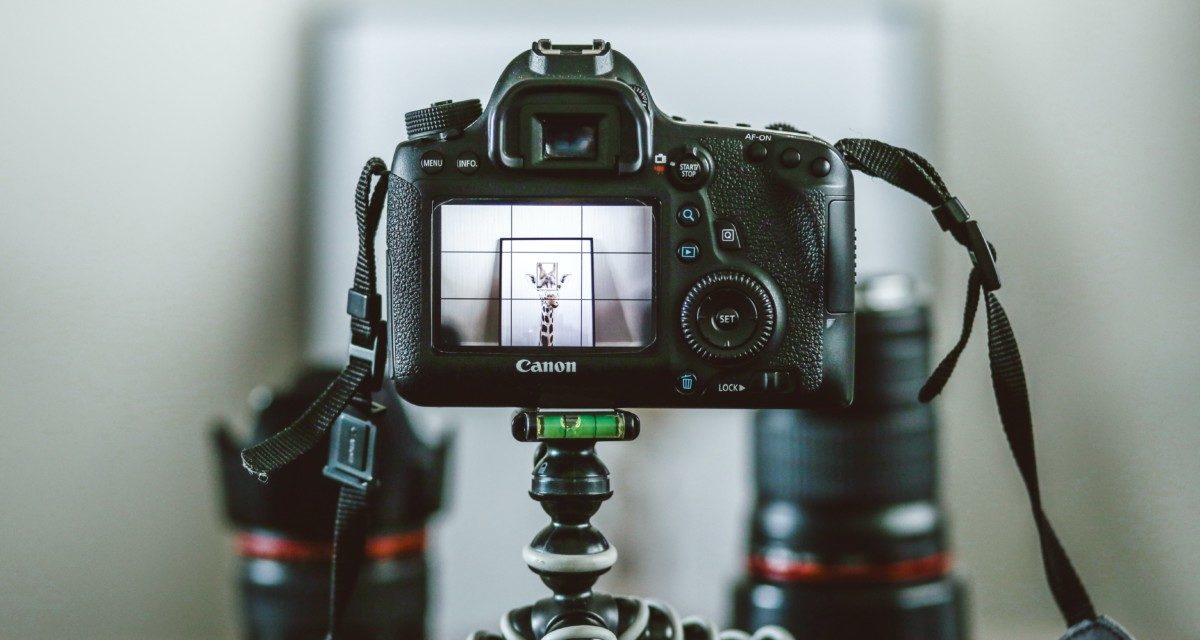
1. Camera – I use an Olympus 4.0 Megapixel digital camera which is a decent camera, but any good quality digital camera will work. Read your camera instruction guide to find all the options for taking good quality pictures. Always take high resolution .tiff pictures because you can always decrease the image quality and file size of a digital picture, but you can't start from a low resolution image and make it high resolution.
2. Lighting – You do not have to have an expensive photo lighting system or a really expensive camera, what I use is those clamp on metal reflectors that you can buy from the hardware store and I use 500 watt photo light bulbs from the camera store in the clamp on metal reflectors. I use four of these at one time.
3. Tripod – A tripod is also very helpful, but you can do without it if you have to. Use a sturdy tripod with tilt and rotation. If you don't have a tripod, make sure your shutter speed is at least 1/60 and hold the camera steady and squeeze the trigger gently.
4. Photo Editing Software – The final component is the computer software to adjust the images on the computer, I use Adobe Photoshop software which is awesome. There are many other Photo Editing software programs available, and basically you just need to be able to crop the image and adjust the colors and the lightness and darkness of your digital images.
Procedures –
1. Shoot indoors with at least two 500-watt photo flood lamps (3200K) mounted in reflectors. If your artwork is 22″ x 30″ or larger you should probably use four lights.
2. Put the artwork on a piece of black matte board for a background. Fasten art to the black board with double-stick tape, tacks or use a black mat. Place on the wall or on an easel or on the floor. The art must be parallel to the camera lens, the center of the lens pointing at the center of the art. Use a bubble level to be sure camera and art are level. Tape a gray/color scale next to the art so that you will have a reference for adjusting the color of your digital image.
3. Lamps should be 4-5 feet away from the art, position the lights at a 30 degree angle to the surface of the artwork and point each of the four lights to a separate corner of the artwork so that the light will evenly illuminate the entire surface of the artwork. Check to be sure there are no hot spots, shadows or shine reflecting off the art. The room should be completely dark when you shoot. Cover the windows and turn out the lights. For textured work like collage try raking the light, using just one light from the side and adjusting the exposure accordingly.
4. Fill the viewfinder or LCD (digital) with the IMAGE ONLY, centered and absolutely square to the sides, top and bottom. Move the camera or zoom lens, not the art. Focus carefully in the center of the art.
5. The best combination is a slow speed setting (1/8, 1/15, 1/30 sec.) with a high f/stop (f11 or f16) for color saturation and sharp image. If you don't have a tripod, you will need to use at least 1/60 shutter speed. The best setting for balancing the light is “tungsten” (which is the type of light bulb you will be using). Tungsten is under “white balance” in the camera settings. Change your white balance setting to tungsten, if your camera has that option.
6. Always take the highest resolution .tiff image possible (for print applications), you can always save that as a .jpg or .gif or .png for use on the web. For the web, a .gif file at 72 pixels per inch resolution is good for most web applications because it has a small file size and loads quickly.
7. Edit your digital image, in your photo editing software, so that it matches the look and feel of your artwork.
8. Organize you digital artwork files on your computer in folders so that you can easily browse to them for upload to online galleries.
Miscellaneous –
Group your artwork by size and shoot the same sizes in sequence, so you don't have to adjust the camera or easel so much. If your pieces are a standard size, place tape on the floor to mark the position of the camera, lights and easel or art stand and also the placement of the art. It will save you time when you shoot again.
[ad_2]
Source by George McKim

