[ad_1]
Using a wireless router makes computing life much more enjoyable. Why confine yourself to work on the computer in the same location you took it out of the box? Setting up a wireless router is easy and allows you the freedom to access the Internet, files, printers, plus much more, from virtually any location in your house or yard. Before you shake your head about setting up a wireless router on your own, trust me, if I can do it, anyone can.
Here are some simple steps for setting up your wireless router.
Select the correct wireless router for your needs.
If you walk into your nearest Best Buy or other computer store, you will see they have a wide variety of routers available. There are basically (3) wireless networking technologies on the market today; 802.11a, 802.11b, and 801.22g. So what are the differences between these wireless technologies?
802.11a wireless protocol is the oldest version of wireless networking technologies currently available. While you may find 802.11a wireless hardware at discounted prices, I would strongly urge you to avoid them. 802.11a is limited in range and capacity versus 802.11b and 802.11g. So why set up your first wireless network with the oldest technology.
802.11b wireless protocol (11Mbs) is by far the most common wireless technology in use today. If you select this wireless protocol, you will be fine. But why not start with the latest and greatest wireless protocol currently available?
802.11g is the best wireless technology on the market and all new computers with built-in wireless cards utilize this protocol. 802.11b wireless protocol was superceded by backwards compatible 802.11g (54Mbs). What this means is that if you have an 802.11b card on some of your computing devices, you can use an 802.11g wireless router without the need to replace your wireless card. If you have the option, I would strongly recommend purchasing 802.11g cards for your computers as well to get the maximum benefits of this wireless network technology.
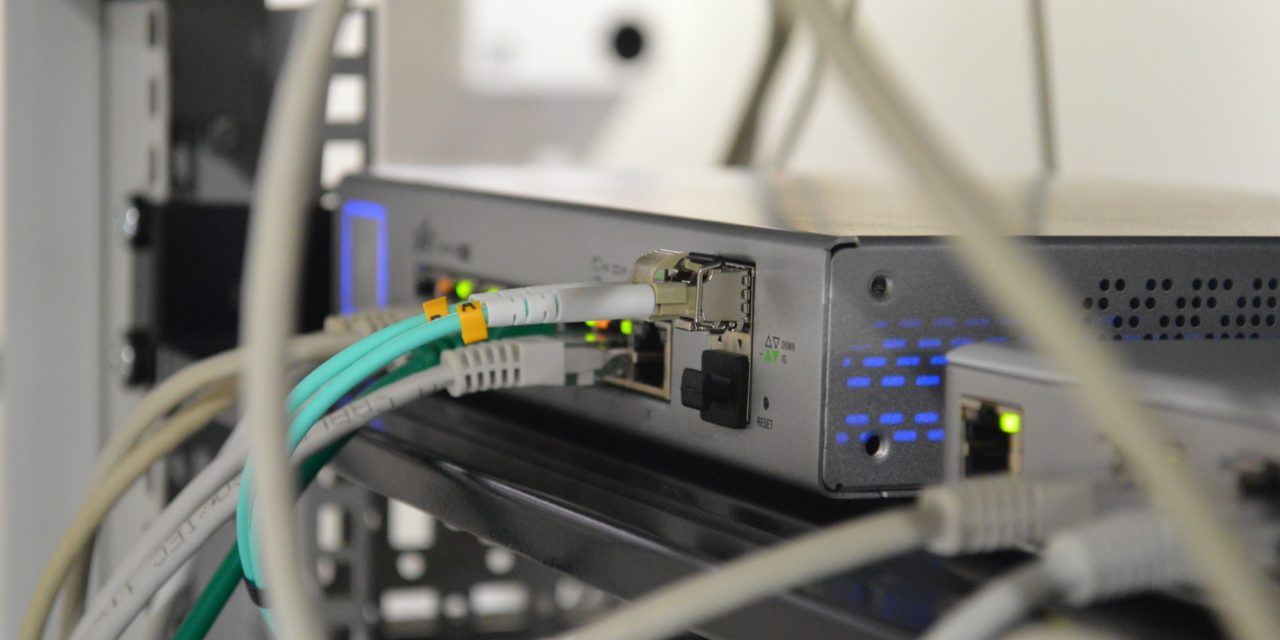
Connecting your wireless router
Before starting, be sure you have a paper copy of all instructions or the router manual in front of you. Sounds simple, I know, but you would be surprised how many people neglect this basic step. Ok, let's get started!
The first step will be to power down your DSL or cable modem. This will be accomplished by unplugging the devices from the electrical outlets.
Next, connect the wireless router to your modem. I would recommend keeping the distance between the router and modem as close as possible. I have both modem and wireless router setting side by side on my desk.
Included with the wireless router, you should have a short cable. This is your network cable. Plug the network cable into the wireless router in the port labeled INTERNET, WAN OR WLAN. This designation varies depending on the brand of wireless router you purchased. It does not matter which end of the network cable you connect to the router, since the same type of connector is used on both ends.
Once you have connected the network cable to your wireless router, connect the other end of the cable into your modem. Your modem will only have one port available. You will hear a “click” when a secure connection has been established.
You can now re-insert the cable which provides your Internet access back into your DSL or cable modem.
At this point, you will want to power up your modem. The modem should always be powered up first. Allow a few moments for the Internet connection to synchronize with the modem.
It is now time to configure your wireless router. Temporarily disconnect the network cable from the router and modem. Once you have completed this, connect the network cable to any port on the wireless router not labeled as INTERNET, WAN OR WLAN. You will probably have at least 4 open ports; any one will do. Next, connect the other end of the network cable to your computer. This may seem confusing, however, you need a direct connection between the router and computer to permit configuration.
On your computer, open up an Internet browser and enter the address which corresponds to your specific make of wireless router.
ROUTER ADDRESS USERNAME PASSWORD
3Com 192.168.1.1 admin admin
D-Link 192.168.0.1 admin
Linksys 192.168.1.1 admin admin
Microsoft Broadband 192.168.2.1 admin admin
Netgear 192.168.0.1 admin password
Once you have entered the address into your browser, you will be prompted to enter a username and password. Reference the chart for your respective information. While in the configuration mode, you will have the option to change your password, which I strongly suggest.
Next, you will need to set your network id or SSID. This name does not have to be lengthy, but choose something that is unique and but easy enough for you to remember.
Protecting your network. You will also have the option to either secure your network or leave it “open”. By leaving your network “open”, anyone within range of your wireless router signal will be able to access your network. If you live in a location in a development or apartment, there is a good chance someone will be riding your network..using your Internet access for free and degrading your access quality. It is a good rule of thumb to secure access to networks and computers whenever possible.
To secure your network, select the WEP tab or option. WEP stands for Wireless Encryption. You will be prompted to enter a password or passphrase. We have already addressed changing your administrator password from the default, so let's move on. Be sure to select Apply or OK after making your selections.
Disconnect the network cable from your computer, and reconnect as before. One end of the network cable goes into the port on the wireless router marked INTERNET, WAN, or WLAN, and the other end connects to your DSL or cable modem.
After a few brief moments, an icon should appear on your desktop alerting you a wireless network has been detected. Right click on the icon and select “View Available Wireless Networks”.
If you do not see your network, click on the Refresh button from the menu. Once your network is visible, click on it.
If you have WEP protected your wireless network, you will be prompted to enter your password or passphrase. If you have chosen to leave your network unprotected, you will be cautioned that you are attempting to access an unsecured network. Select your network and press “Connect”.
Article written by LSG at Lilsurfergirl.com [https://lilsurfergirl.com/2007/11/08/choosing-the-right-laptop/]